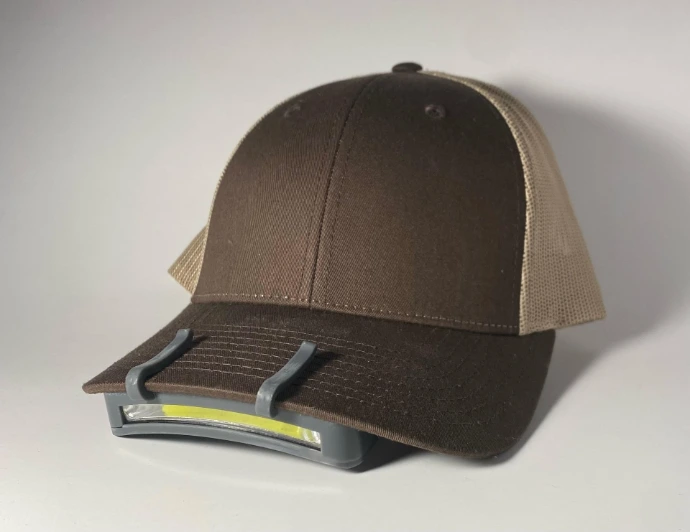
Headlamp
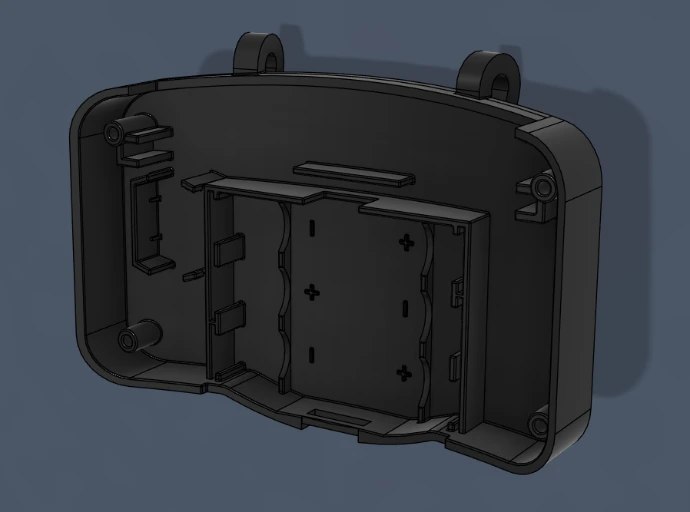
Reverse-engineered headlamp enclosure recreated to capture intricate geometry and fine functional details. The original part was measured and modeled in CAD, critical interfaces were preserved, and the design was prepared for resin printing. The final part was printed in high-resolution resin and validated for fit, finish, and function.

The Problem/Requirement
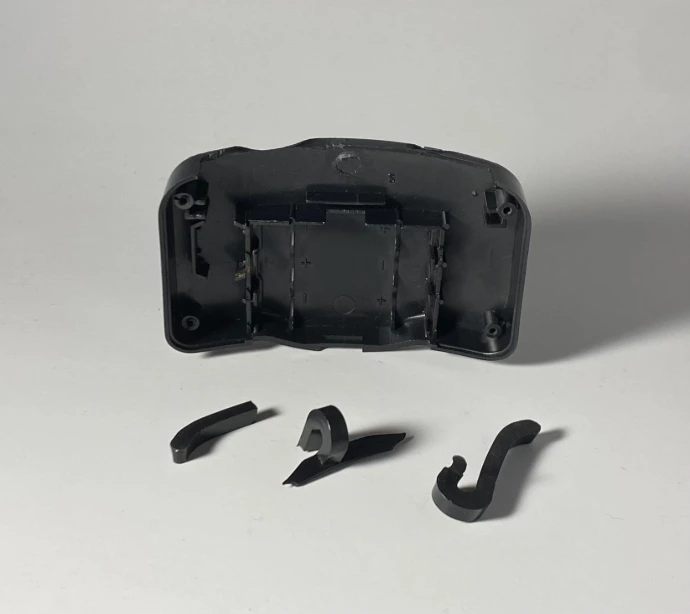
The original part failed due to poor material choice.
Original part was made with a rigid and brittle plastic.
Clip design was less than desirable due to chosen placement and angle.
The parts possess many intricate details that are critical to fit and function.
- Goal: Reverse engineer part to function better than the original.
Design Approach
For the process, I chose to use SLA resin printing due to its isotropic mechanical properties and uniform nature.
Unlike typical FDM 3D printing, SLA does not suffer from having separate layers. This allows parts to be bent, stressed, and loaded in all orientations without risk of inconsistent mechanical properties - perfect for a product that needs to bend repeatedly such as this one.
For the material, I chose to use Formlabs Tough 2000 resin, which offers a good balance of stiffness, flexibility, and durability to withstand frequent bending cycles.
Reverse engineering required precision measuring equipment and a thorough approach.
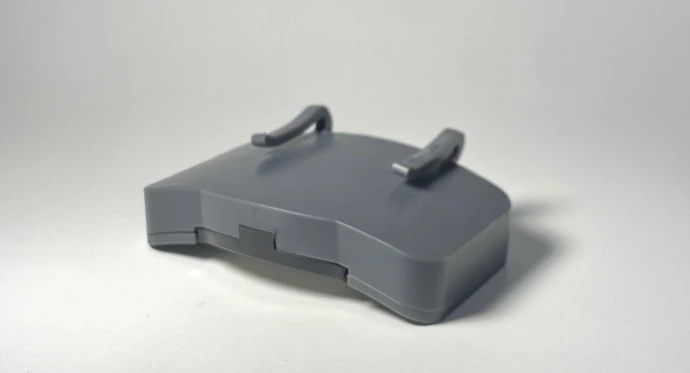
Clips were redesigned to improve placement and angle.
Intricate details were preserved for proper fit and function.
Production - Printing
- Prior to production, all critical measurements were verified to match the original equipment to ensure proper fitment.
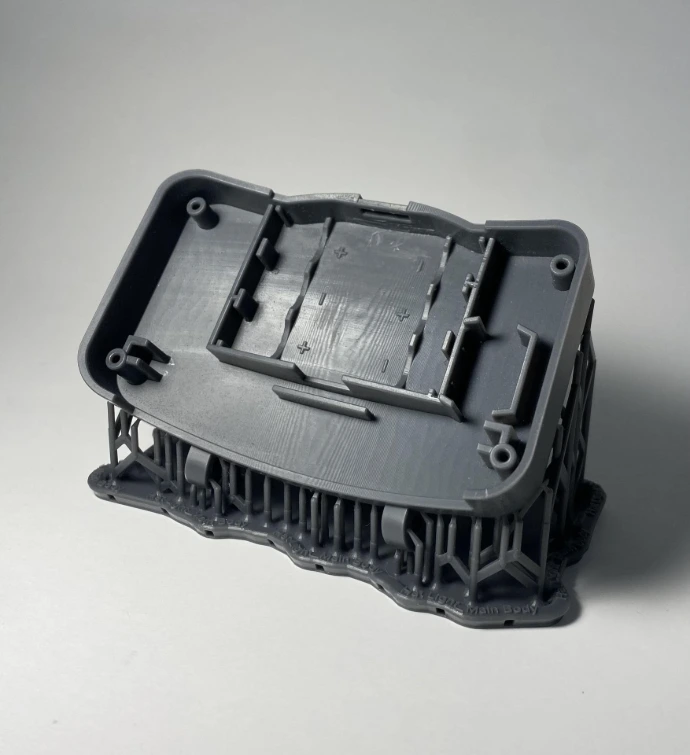
- After all verification efforts were completed, the part was printed out of the chosen Tough 2000 resin.
- The print was set up to have minimal support contact points and .050mm (.002 in) layer height for best final part quality.
- The parts were then washed and cured per Formlabs's specifications to ensure designed mechanical properties.
- Although it is not pictured here, the other half of the headlamp enclosure was also reverse engineered and printed due to other broken pieces.
Production - Assembly
After the printing process was complete, the parts were assembled, including the following noteworthy items.
Screws were directly threaded into the resin with no cracking or deformation.
The batteries, light, and button all fit with no issues.
The two halves of the body fit together as designed.
Results/Conclusion
After final production, the parts were thoroughly tested. An additional part was printed to test the durability of the clips. The clips were able to withstand much more bending than the original component before breaking. Overall, the quality of the parts came out great and the headlamp now functions better than it did before.
Have a similar problem?
Contact us today for a free quote or to discuss your ideas.